

No products in the cart.
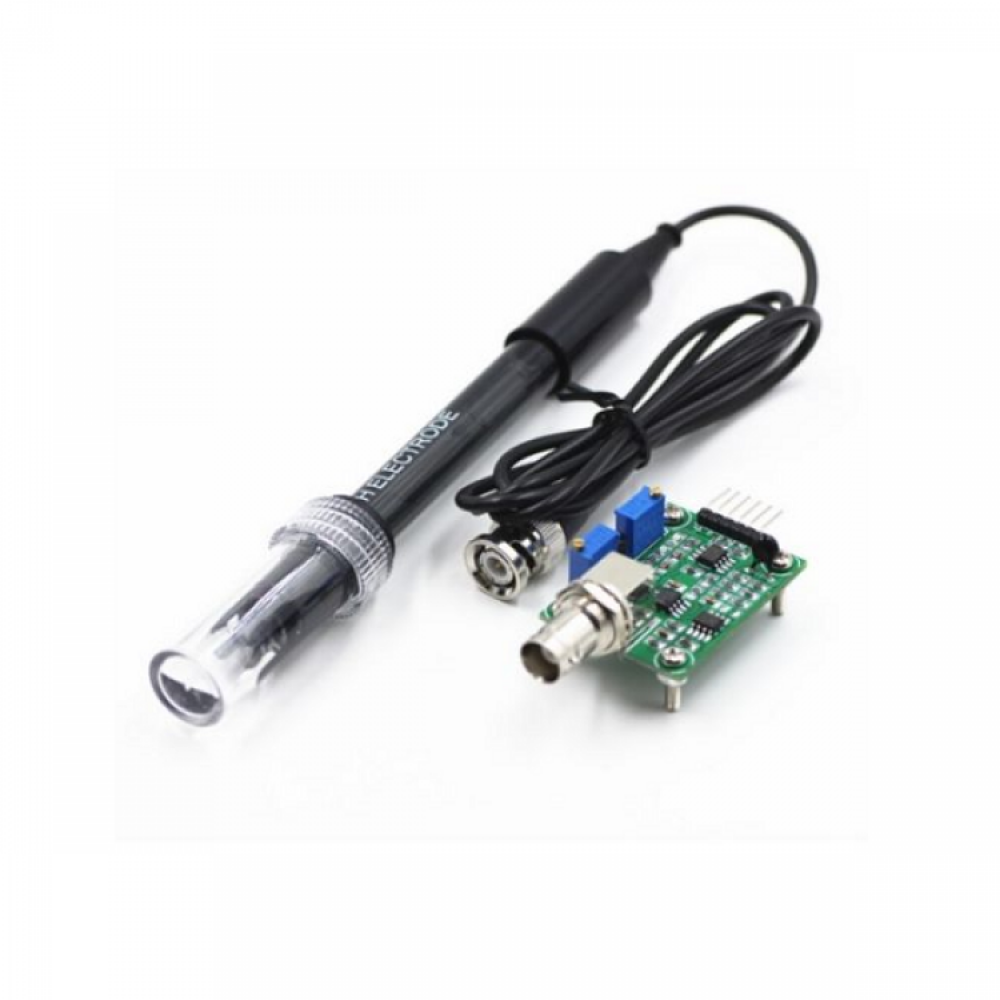
PH Sensor kit with PH Electrode Probe

Roll over image to zoom in
₹2,100.00₹2,399.00 (-12%)
DESCRIPTION
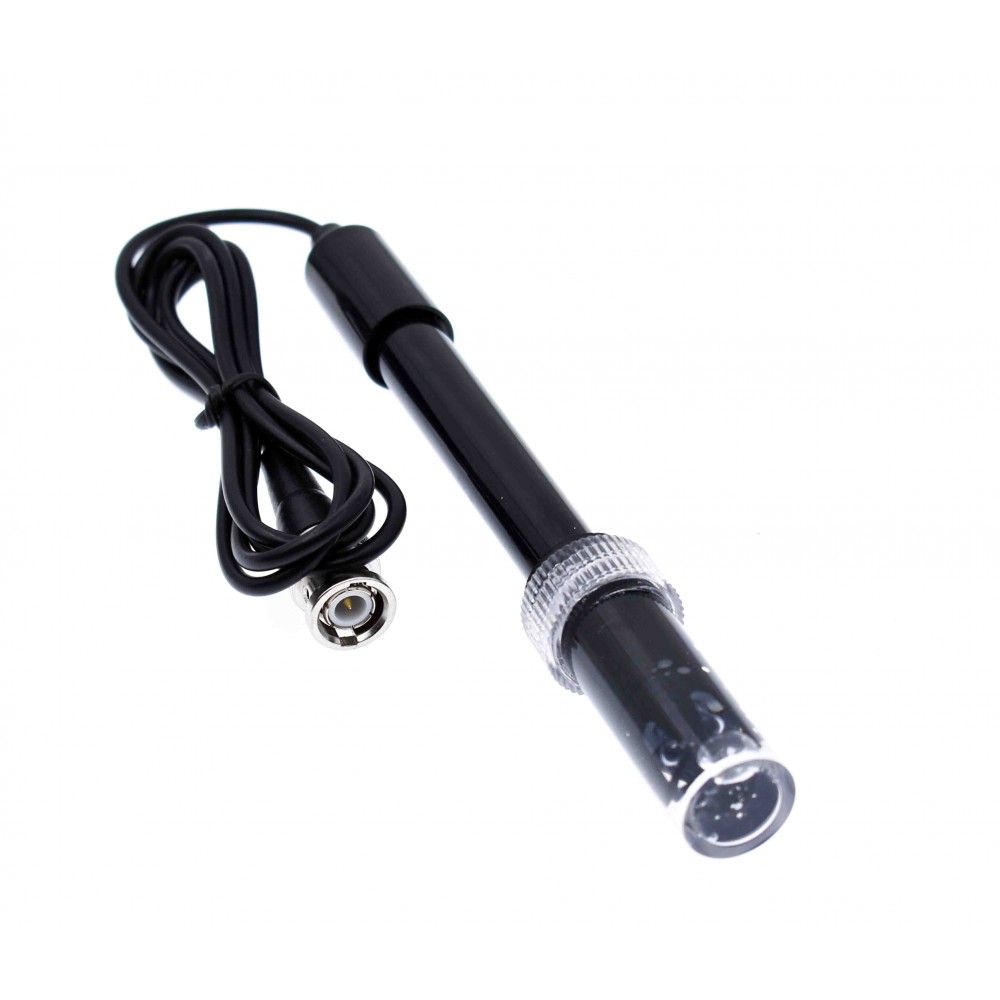
PH Sensor kit with PH Electrode Probe is Compatible for Arduino. The pH stands for the power of hydrogen, which is a measurement of the hydrogen ion concentration in the body. This is used in Water quality testing and Aquaculture. The total pH scale ranges from 1 to 14, with 7 considered to be neutral. A pH less than 7 is said to be acidic and solutions with a pH greater than 7 are basic or alkaline. The PH electrode has a single cylinder that allows direct connection to the input terminal of a pH meter, controller, or any pH device which has a BNC input terminal. The pH electrode probe is accurate and reliable that can give almost instantaneous readings.
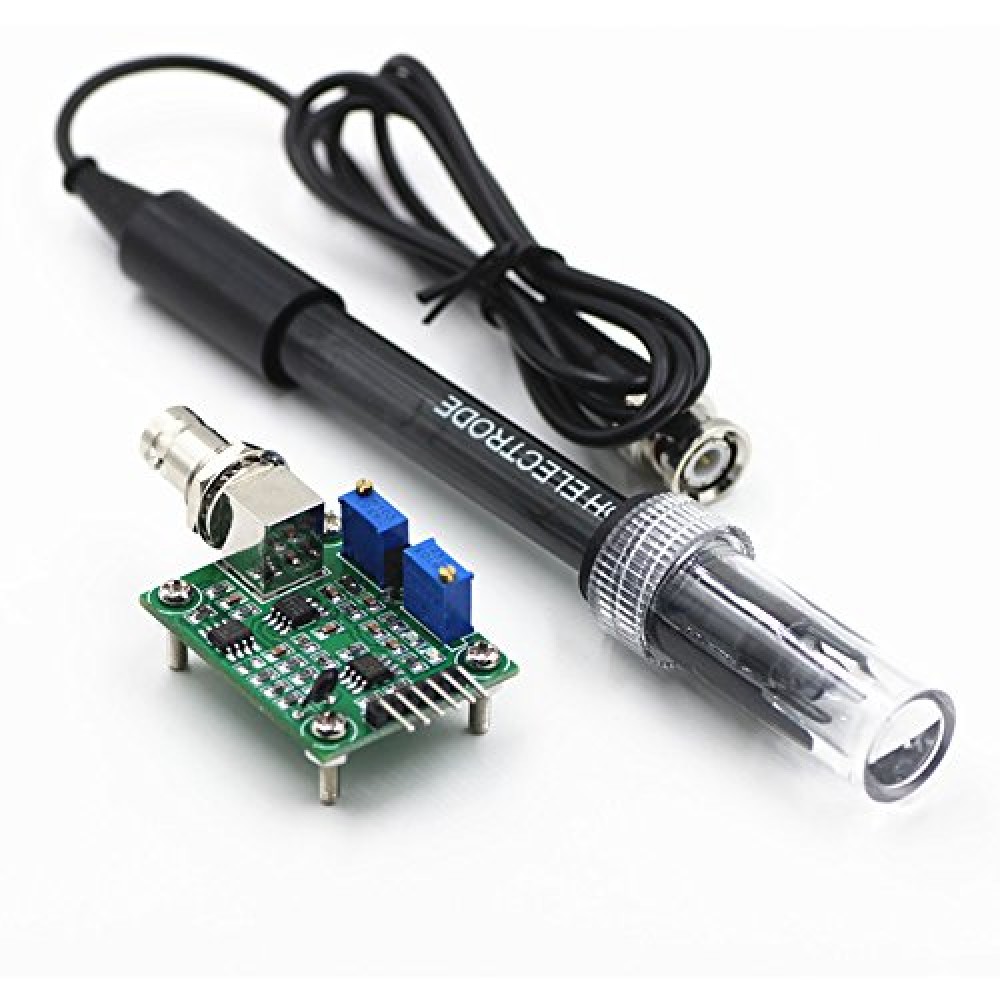
This Kit is specially designed for Arduino controllers and has a built-in simple, convenient and practical connection and features. It has an LED which works as the Power Indicator, a BNC connector and PH2.0 sensor interface. To use it, just connect the pH sensor with BND connector, and plug the PH2.0 interface into the analog input port of any Arduino controller. If pre-programmed, you will get the pH value easily.
Pins Description:
- To : The output of the temperature sensor for temperature compensation. At a temperature of 25°C is the voltage of about 3.6 V with increasing temperature the voltage decreases (with a delay). At 100°C is the voltage of about 0.85 In.
- Do : digital output (5V / 0V) responsive to the set threshold value ph. The threshold is set by the potentiometer closer to the output pins.
- Po : the output of the ph sensor (-0.4 V to 0.4 V) amplified 2x. The mean value of the voltage of the ph sensor 0V (PH7) is shifted in the range of about 1V to 2.5 V using the potentiometer closer to the connector for the ph probe.
- G : GND (ground)
- G : GND (ground)
- V+ : 5V
Specifications:
| Input Supply voltage (VDC) | 5 +/-0.2 |
| Working current | 5-10mA |
| Measuring Range | 0 – 14 PH |
| Measuring Temperature | 0 – 50 ℃ |
| Accuracy | ± 0.01 pH |
| Response Time | ≤ 1min |
| Power consumption | ≤ 0.5W |
| Cable Length (cm) | 75 |
| pH sensor size (mm) | 150, Φ12 |
| Module Size (mm) | 42 x 32 x 20 |
| Weight (gram) | 50 |
Step to Use the pH Meter:
- Connect equipment according to the graphic, that is, the pH electrode is connected to the BNC connector on the pH meter board,and then use the connection lines, the pH meter board is connected to the analog port 0 of the Arduino controller. When the Arduino controller gets power, you will see the blue LED on board is on.
- Upload the sample code to the Arduino controller.
- Put the pH electrode into the standard solution whose pH value is 7.00,or directly shorted the input of the BNC connector. Open the serial monitor of the Arduino IDE, you can see the pH value printed on it, and the error does not exceed 0.3. Record the pH value printed, then compared with 7.00, and the difference should be changed into the “Offset” in the sample code. For example, the pH value printed is 6.88, so the difference is 0.12. You should change the “# define Offset 0.00” into “# define Offset 0.12” in your program.
- Put the pH electrode into the pH standard solution whose value is 4.00. Then wait about one minute, adjust the gain potential device, let the value stabilize at around 4.00. At this time, the acidic calibration has been completed and you can measure the pH value of an acidic solution.
Cautions:
- Please use an external switching power supply, and the voltage as close as possible to the +5.00V. More accurate the voltage, higher the accuracy!
- Before the electrode in continuous use every time, you need to calibrate it by the standard solution, in order to obtain more accurate results. The best environment temperature is about 25 ℃, and the pH value is known and reliable, close to the measured value. If you measure the acidic sample, the pH value of the standard solution should be 4.00. If you measure the alkaline sample, the pH value of the standard solution should be 9.18.Subsection calibration, just in order to get better accuracy.
- Before the pH electrode measured different solutions, we need to use water to wash it. We recommend using deionized water.
Remarks: If you want to measure the pH value of other solutions, you must wash the pH electrode first!
Applications
- Water quality testing
- Aquaculture
Package Includes:
- 1 x pH probe with cable and BNC connector.
- 1 x pH sensor circuit board.
Note: This is a laboratory probe, it can’t be immersed in the liquid for a too long time.

Reviews
There are no reviews yet.